Guides · Guide
He'd Never Touched Electronics. Then He Sold 700 Desk Robots. Here's How to Build One for $18
Lloyd December went from a blinking LED to shipping 700 tiny desk robots with a cute face, then open-sourced all of it. The story behind Tabbie and Taby, and how to build your own with an ESP32, an OLED and Claude Code.
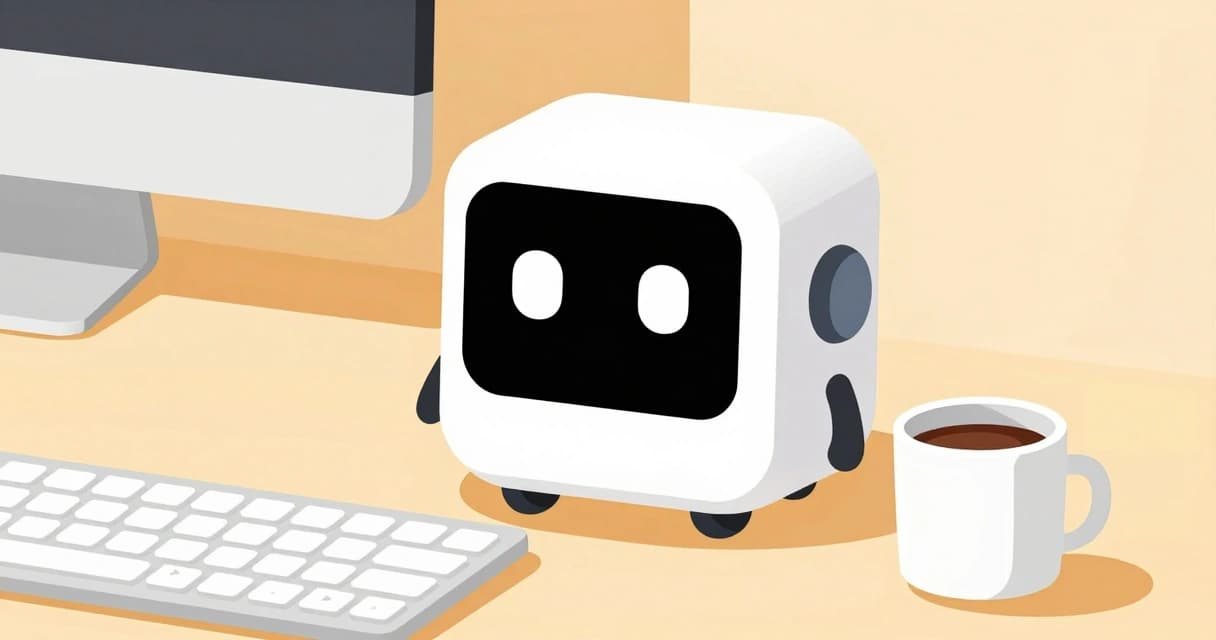
A year ago, Lloyd December didn't know what a microcontroller was. He saw two cute, very expensive desk robots, wanted one, and decided, for no particular reason, to learn electronics and make his own.
What came out of that is a tiny box with a screen and two blinking eyes. It keeps your to-do list, runs focus timers and reminds you to drink water. He sold about 700 of them, shipped them himself, and then open-sourced the firmware so anyone can build one. This post tells his story, credits his work properly, and walks you through building your own for about $18, with an AI coding agent writing most of the code.
From a blinking LED to an ugly robot head
Lloyd started the way every electronics tutorial tells you to: make an LED blink. Then an LED with a button. Then a servo motor, which he stuck on a 3D printed head. By his own account the first face was 'insanely ugly', and the next one was only a little better.
He kept going anyway. He built a small app so that starting a Pomodoro timer made the robot show a focused face and a countdown. It was bulky and rough, and he was, in his words, insanely proud of it. That pride matters: it's what kept him iterating until the thing got good.
The board that made it look real
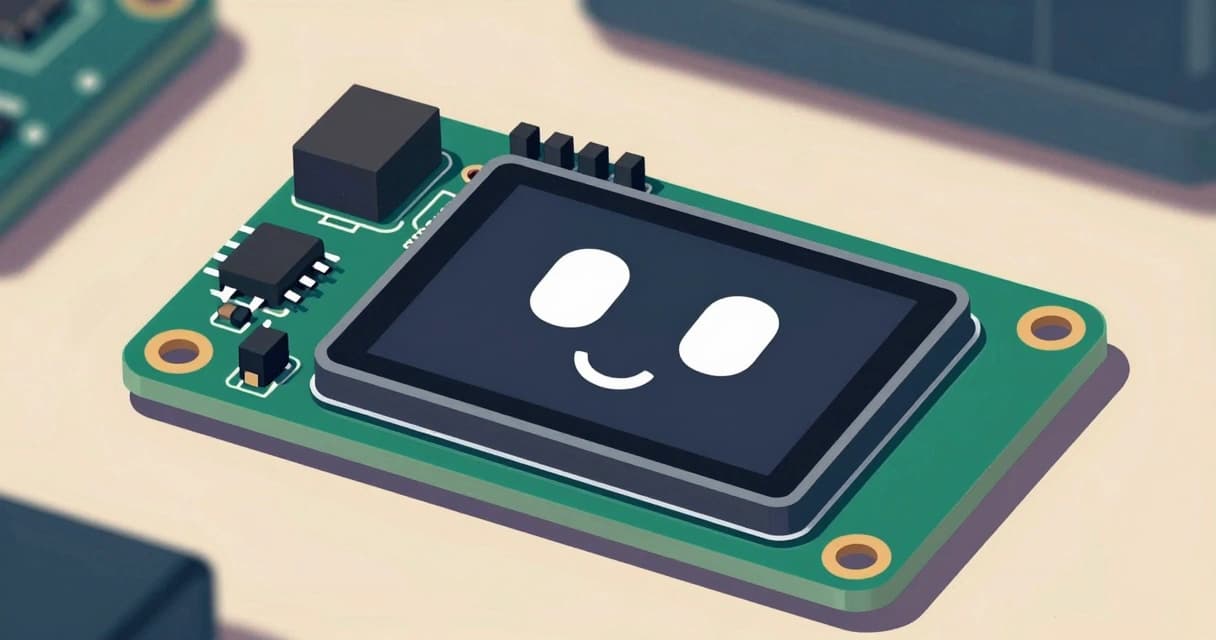
The turning point was hardware, not code. Lloyd found ESP32 boards with a screen built right in, some even in a small metal case. Nothing about what the robot did changed; it was still an image sequence of a character blinking. But suddenly it looked like a product instead of a science project.
That's a useful lesson for anyone building gadgets: presentation does a lot of the work. A clean enclosure and a crisp screen turn the same idea from 'neat hack' into 'I want one'.
The accidental viral moment
In early 2026 he posted a short video on Instagram: a to-do list with a cute face. It got around 200,000 views, and the comments were full of people talking about Todo. Lloyd had no idea why. It turned out viewers heard 'to-do' as Todo, a character from the anime Jujutsu Kaisen. A pronunciation accident did the marketing.
He leaned in. He opened preorders at $49 for the device in a printed enclosure with a magnet mount, then made a follow-up video where the robot talked back in a Todo-style voice. That one passed 1.1 million views and brought his biggest wave of orders.
- First video: about 200K views, a happy accident
- Follow-up with a character voice: over 1.1 million views
- Preorders started at $49; he sold and shipped about 700
Why he open-sourced it
Here's the part most success stories skip. The margins were thin. Lloyd puts the device at about $25, with enclosure, magnets and shipping adding roughly another $20, against prices of $49 to about $70. And he was one person doing the hardware, the shipping and the companion app, which was getting glitchy.
So he made a generous call: he open-sourced the firmware and the case files so people can build their own, and focused on making the app work well. That's why you can build one today. Both projects are on GitHub: Tabbie, the original to-do robot, and Physical Taby, the polished version for Waveshare AMOLED boards.
- Tabbie (to-do list with a cute face): github.com/lloyd-december/tabbie
- Physical Taby firmware and cases: github.com/TRIIIS-LABS/firmware-taby
- His app and finished devices: heytaby.com and tabbie.me
- Follow Lloyd: youtube.com/@lloyd_december and x.com/lloyd_december
Build your own for about $18
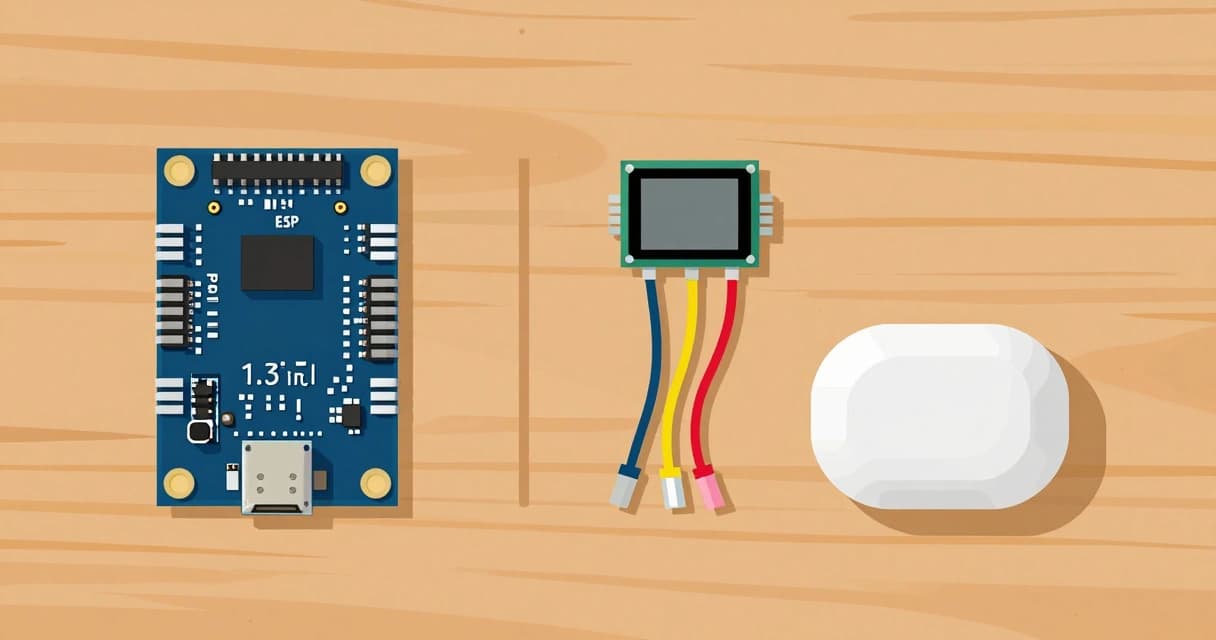
Tabbie's build is the simplest way in. You need an ESP32 board with USB-C, a 1.3 inch I2C OLED screen for the face, four jumper wires and a small 3D printed case; Lloyd's guide lists parts at roughly $18 total and includes a 15 minute video walkthrough. Buy an OLED with the header pins already attached and there's no soldering at all.
Wiring is four connections: the screen's VCC to 3.3V, GND to GND, SDA to SDA and SCL to SCL. Pin numbers vary between ESP32 boards, so check yours. If you'd rather start from a polished board, Taby runs on the Waveshare ESP32-S3 Touch AMOLED 1.64, and its README includes a prompt you can paste into an AI agent to install the firmware for you.
- ESP32 dev board (USB-C)
- 1.3 inch I2C OLED
- Four jumper wires
- A small printed case (Tabbie's STL files)
Let Claude Code write the firmware
This is where an agent turns a weekend project into an evening. Install an embedded skill, plug in the board, tell Claude the exact board you have, and ask for one feature at a time. alirezarezvani-embedded-iot-mentor covers ESP32 setup, pins and flashing. jeffallan-skills-embedded-systems keeps the code non-blocking, so the eyes keep blinking while Wi-Fi reconnects.
Good first prompts: draw two rounded eyes and a smile that blink every few seconds and glance around; add a 25 minute focus timer on the button that squints while it runs; show your next to-do from a list you edit over Wi-Fi; every 30 minutes, show a water drop until you press the button. Flash after each step so you always have something that works.
- Install:
npx @skills-hub-ai/cli install alirezarezvani-embedded-iot-mentor - Install:
npx @skills-hub-ai/cli install jeffallan-skills-embedded-systems
What Lloyd's story teaches builders
Start ugly and keep shipping. Show your work in public, because you can't predict what catches on. Pay attention to presentation. And be honest about the economics before you scale. If you build one, tag Lloyd; open source projects run on people saying thanks.
Skills to try
- embedded-iot-mentor: Use for any embedded or IoT hardware project (ESP32, STM32, Arduino, Pico, firmware, PCB, MQTT, Home Assistant, sensor dashboards), before buying parts. Picks …
- embedded-systems: Use when developing firmware for microcontrollers, implementing RTOS applications, or optimizing power consumption. Invoke for STM32, ESP32, FreeRTOS, bare-met…
- m5-onboard: End-to-end onboarding for a freshly-plugged-in M5Stack ESP32 device (Cardputer, Cardputer-Adv, Core, CoreS3, Stick) — detect on USB, flash UIFlow 2.0 firmware,…
Sources
- https://www.youtube.com/watch?v=VSQjmrJ7KrU
- https://github.com/lloyd-december/tabbie
- https://github.com/TRIIIS-LABS/firmware-taby
- https://www.heytaby.com
- https://x.com/lloyd_december
Written by
Skills-Hub Team
Skills-Hub is the open registry for AI coding skills, with SKILL.md files synced daily from Anthropic, Google, Microsoft, and 90+ official sources. Free + MIT.